Roof Ski Rack and Snowboard Carrier Installation Guide
Installing a ski rack on the roof of your vehicle, such as a Menabo branded ski rack, is simple to do at home in less than 20 minutes If you already have roof rails and crossbars installed on your vehicle’s rooftop.
Start by laying out all the ski rack installation components on a table. The exact number of bolts, screws and pieces required for assembly will vary slightly by make and model of the ski rack.
Most ski racks do not require the use of power tools, and can be installed using a 6 mm hex key or allen key.
You may want to use a small step ladder as well in order to have a more bird’s eye view of the roof while installing the carrier, especially on an SUV without running boards or side step bars.
1) Insert T-Bolts in Upper Groove of Roof Crossbars
- For roof crossbars with an upper T-track, insert the T-Bolts already assembled on the ski carrier in the upper groove of the roof bar.
- If the roof crossbars on your vehicle do NOT have an upper T-Track, insert the provided M6x60 screws through the adaptor clips
- Repeat for the rear bar of the rack
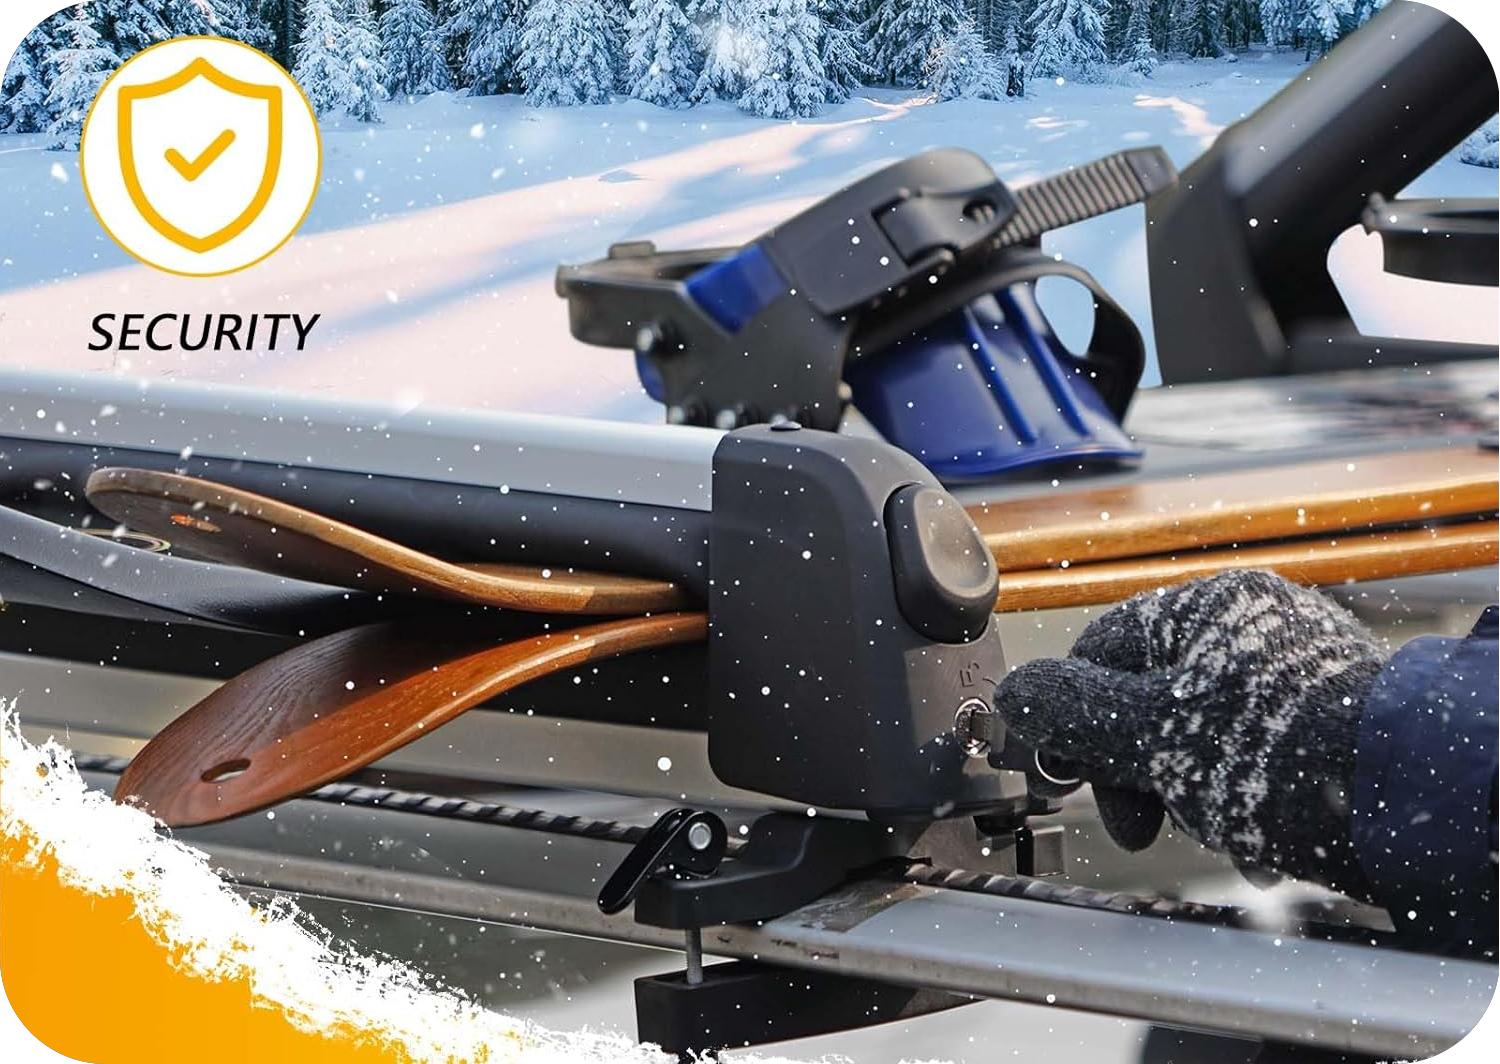
2) Insert Key to Unlock Ski Rack
- Most ski racks will provide a key in order to lock the skis in place.
- Insert the provided key and turn counterclockwise to unlock the front end of both the front and back bars of the rack.
- Push down on the release button to open the ski carrier.
- Repeat for the rear bar of the rack
3) Tighten Front End of the Ski Rack to the Roof Crossbars
- For roof crossbars with an upper T-track, use a hex / allen key to tighten the provided nut in order to securely connect the front end of the ski rack and roof crossbars together.
- For roof crossbars without an upper T-track, use a hex / allen key to tighten the provided clip underneath the front end of the ski rack to the nut
- Repeat for the rear bar of the rack
4) Tighten Rear End of the Ski Rack to the Roof Crossbars
- Lift the block handle, slide out the ski carrier sled in order to find the nut in the rear part of the ski carrier.
- For roof crossbars with an upper T-track, use the hex / allen key to tighten the rear nut in place in order to securely connect the rear end of the ski rack and roof crossbars together.
- For roof crossbars without an upper T-track, use the hex / allen key to tighten the provided clip underneath the rear end of the ski rack to the rear nut
- Screw in the provided clips both above and underneath the roof crossbars in order to securely connect both the front and rear end of the ski rack to the crossbars
- Repeat for the rear bar of the rack
5) Test the Sturdiness of the Ski Rack
- Test the sturdiness of the installed ski rack by gently pushing and pulling it in all four directions while in the closed position.
- If the ski rack feels secure, tug at it more firmly in each direction.
- If it feels loose, repeat steps 3 & 4 above to ensure all the nuts and bolts are securely tightened.
Summary of Ski Rack Installation Steps
- Connect the ski rack to roof crossbars through T-Bolt slots or adaptor clips
- Insert key to unlock ski rack
- Tighten front and rear ends of ski rack to roof crossbars
- Test sturdiness of ski rack for safe loading and transport of gear
It was that easy. Now your newly installed rooftop ski rack and snowboard carrier is ready to be loaded with skis and snowboards for your next winter adventure.

